How to Convert PDF to HTML for Mac?
PDF is the business world's choice for digital documents. It is easy to post PDFs online for users to download. However, using PDFs is not as easy as browsing to a webpage, because anyone who has ever downloaded a product manual will verify. You typically need a program to open and read PDFs, such as Adobe's Acrobat Reader or other third party applications.
When you've got the PDF open, it's not always easy to read or navigate through multiple documents. More and more websites are giving you the option to view online manuals and documentation as Webpages instead of as PDFs. That's why people need to convert PDF to HTML.
Converting PDF files to HTML web pages easily makes your PDF documents visible and fully searchable on the Internet. The tutorials are about how to convert PDF to HTML Mac with PDF to HTML Converter for Mac.
Step-by-step Guide: Convert PDF to HTML Mac
Preparation: Free download and install. Then run the installed software on Mac.
![]()
Step 1. Import PDF file(s)
There are mainly 3 methods for loading PDF file(s).
1) Click the button "Add File" to load PDF file(s). If you want to convert all PDF files in the same folder, click the button "Add Folder".
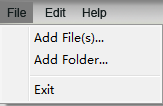
2) In the menu, click File > Add File(s)... or Add Folder...
3) Directly drag and drop PDF file(s) to the window.
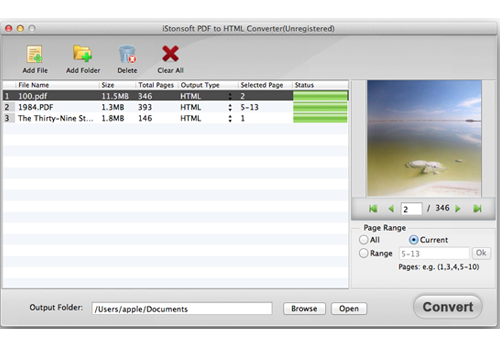
Once PDFs are loaded, the file name, size, total pages and selected pages of the presentation file will be listed in the file list as below:
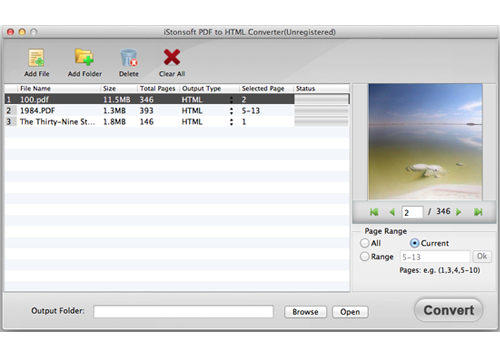
In the Selected Pages column, you can choose to convert all the pages, or directly enter the page numbers or a page range to convert.
Step 2. Output settings
1) Output Folder
The default is to save output file to the installation folder of the application. To customize the output folder, check in the Customize circle, and click Browse button to choose an output folder for saving the outputted Word files.
2) Page Range
Select the page you want to convert: All or Current page. You can also enter pages numbers and/or page ranges separated by commas. The software provides 3 modes of Page Range: All(Default), Current, Range.
If you Select "All", then all of the pages will be converted.
If you Select "Current", only the current page which you are previewing will be converted.
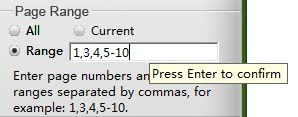
If you Select "Range", then you will be asked to enter page numbers and/or page ranges separated by commas, for example, 1,3,4,5-10, press "Enter" button on the keyboard to confirm, then the page ranges will be converted.
Step 3. Begin conversion
After finishing all the necessary settings, click “Convert” button to convert all the PDF files in the list.
Tip: The Convert button will become a Cancel button after the conversion starts. During the conversion, you can terminate the conversion by clicking the Cancel button.
In the process of conversion, you can do other things or sit down to wait for a while. The conversion is fast, after conversion, you can directly click "Open" button to find the converted files.
![]()
Related Links:
MOBI to ePub Converter for Mac, How to Combine PDF Files on Mac