Recover Deleted Photos from Memory Card
 Almost everyone has a digital camera nowadays. More and more people use digital cameras to record wonderful moments. Digital cameras use memory cards to store photos it takes. It is common that most people may delete pictures using the Format button by mistake. In fact, most digital cameras these days DO NOT delete photos permanently from memory card whey you delete photos using the Format button.
Your images/pictures are stored on these memory cards as a file. This data occupies a given space on all memory cards. When you erase your images (Delete ALL for example) or format the card, the space (or data) on which the pictures were stored is not deleted.
Whether you are using a Nikon, Canon or Olympus, it is possible to recover deleted photos from memory card. Download Photo Recovery Software, (also is video recovery and audio recovery). Install it on PC. For Mac users can download Photo Recovery for Mac. The follow the guides below to recover deleted photos from memory card.


Guide: How to Recover Lost Photos from Memory Card
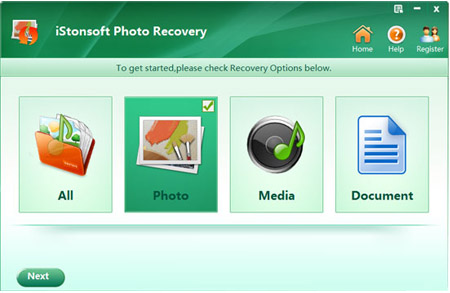
After installation, start the memory card photo recovery software. You are allowed to select one of the four ways:
1. You can directly connect your Digital Camera to your PC and then run this software.
2) You can also insert your Memory Card (SD Card, Memory Stick, etc.) into built-in memory card slot of your PC and then run this software.
3) You can also connect your USB Drive or other mass storage devices to your PC and then run this software.
4) You can also use this software to recover files on your internal Hard Drive.
To recover deleted photos from memory card, you need to select the second one. Insert the memory card to your PC's built-in memory card. Click "Start" button to continue.
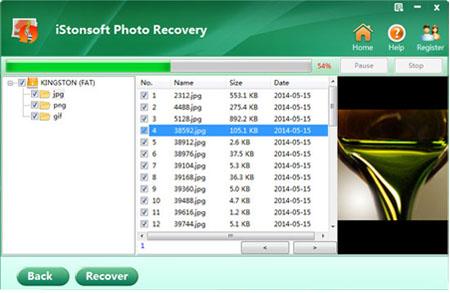
Step1. Select a drive where your lost data located
A list of partitions found on the drive or other storage media found by the photo recovery software will be displayed. Select the one that your lost files located. Click 'Scan' to start scanning for deleted photo files. During the process of scanning, you can 'pause' or 'stop' the scanning.
Step2. Find out the files you need
Find out the target data that you want to recover. The scan results will be displayed according to file formats, such as photo of bmp, gif, jpg, png, tif. If you can't locate your target photos fast, you can use file filter to search the specific files precisely and quickly. And the preview feature allows you to preview your images before recovery.
After finding out the photo files which you need, click 'Recover' button to proceed to destination selection interface.
Step3. Select a destination to save the recoverable data
Select or enter a directory to store the recovered files. We highly suggest you select another directory which is different from the source one, in case it would eventually overwrite the source data.
What's next?
Related Links: