How to Root Your Android Devices Easily?

2013-12-12 11:03:10 /
Posted by Neville Bergle to Mobile Phone Topics
Follow @ Nevilleeditor
What is "Root". exactly?
You've probably heard of people "rooting" their Android phones, but don't know what is it exactly, right? Actually, rooting, for those of you that don't know, means giving yourself root permissions on your phone. But from a technical level, rooting is the Android equivalent of jailbreaking, a means of unlocking the operating system so you can install unapproved (by Google) apps, update the OS, replace the firmware, overclock (or underclock) the processor, customize just about anything, and so on.
After rooting your Android phones & tablets, you'll have full access to the entire system and can run special types of apps that require root permissions. What's more, you also have the ability to use some Android recovery program to find back your lost or deleted data from Android phones and tablets.
Is the allure of being a superuser tempting you? It is undeniable that Android rooting opens up a world of possibility, but it can also void your warranty, or even leave you with a bricked device. The important thing is to be careful. Furthermore, some manufacturers or carriers will use rooting as an excuse to void your warranty. But actually, rooting will never damage your hardware. And you can "unroot" your device all the time, and these manufacturers can't distinguish the device if it is been rooted. So when you decide to send your device to factory for repair, just simply flash the original backup ROM you made.
Now, let's us to see how to root your Android devices in detailes!
Steps to Root Your Android Phones & Tablets
Preparation
The actual rooting process itself should only take a single click. However, you have to do some necessary preparation works before:
1. Download and install Java JDK and Android SDK on PC in turn. Pay attention not to complete this step in wrong order.
2. Connect your Android device with computer via a USB cable.
3. Enable USB debugging on your phone (Settings > Applications > Development > USB debugging). And install a right USB driver on your Android device.
After that, you need to download and install SuperOneClick on your computer. With the help of the best rooting tool, you can reach your rooting goal in few minutes.
Root Your Android Device with SuperOneClick
After finishing all preparation works, you can follow the below instructions to root Android device as you like.
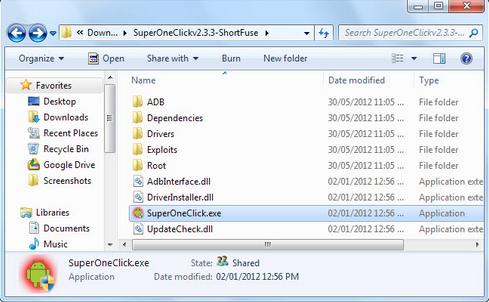
Step 1. Find the location of SuperOneClick, and open it on your computer by double clicking it.
Step 2. After running the program, you'll see an interface like below, then you can click "Root" button and the program will start rooting your device automatically.
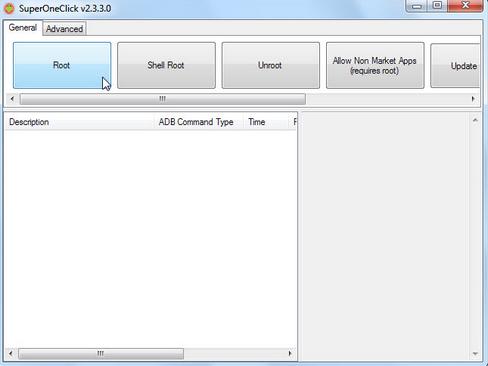
Step 3. Wait for a while, this program will finish the rooting process with the pop-up window showing up for asking whether you want to run a test.

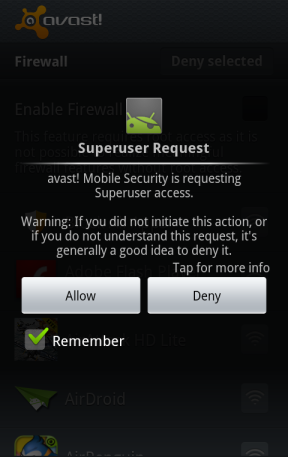
Step 4. Restart your device. Then this program will install a Superuser binary( see picture) on your Android phone, or you can download the Superuser binary from Google Play by yourself. As shown, you can choose "Allow" or "Deny" when apps ask for ROOT permission on your device. Then you can freely manage the whole data and system of your Android phone without any restriction.
Now, you can try to recover lost or deleted data from your Android devices by using iStonsoft Android Data Recovery software.


Related Articles:
Tips to Recover Deleted Text Messages from HTC